
How to Install Solar Panels Step by Step?
Solar panel installation is not a weekend race. It is a site-specific electrical and structural project. Before touching a roof, installers assess sunlight, roof age, load capacity, wiring routes, and local requirements. A shaded chimney can reduce production more than expected. A cracked tile can also change the entire plan.
The International Energy Agency’s Renewables 2024 report recorded almost 420 gigawatts of new solar photovoltaic capacity worldwide in 2023. Solar represented about three-quarters of all renewable capacity added that year. In the United States, the SEIA and Wood Mackenzie Solar Market Insight 2024 report recorded 32.4 gigawatts of solar capacity installed during 2023. These figures show rapid growth, but growth does not remove installation risks.
Solar industry author Bill Nussey has stated, “Solar is not a technology problem; it is a financing problem.” His point also applies to practical planning. A high-quality panel cannot compensate for poor design, weak mounting, or unrealistic savings estimates. This guide explains the process from roof inspection and system sizing to racking, wiring, inverter connection, inspection, and monitoring. It also identifies where qualified electricians and certified installers should take over.
Small details matter. Panels need accurate spacing. Bolts require correct torque. Conduit must resist weather and physical damage. Permits and utility approval may delay the project. That is normal.
No guide makes every roof simple. Local climate, building codes, and utility rules can change the correct approach. Careful measurements beat confident guesses.
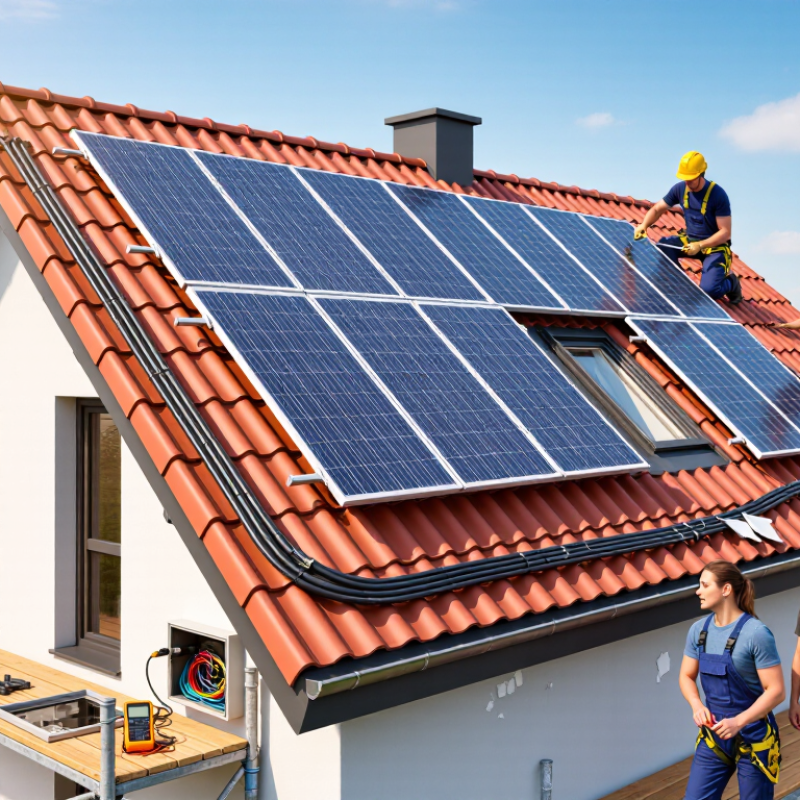
Assess Solar Potential: PV Modules Typically Achieve 15–23% Efficiency
Before installing solar panels, assess the roof’s solar potential, not just its available space. PV modules typically achieve 15–23% efficiency under standard test conditions. The Fraunhofer Institute’s Photovoltaics Report 2024 places many modern crystalline-silicon modules near the higher end of this range. A 400-watt module usually needs about two square metres. At 20% efficiency, it converts roughly 200 watts per square metre of sunlight under laboratory conditions.
Real roofs perform differently. Heat, dust, shading, wiring losses, and inverter conversion reduce energy output. The International Energy Agency Photovoltaic Power Systems Programme reports that performance ratios commonly fall below the module’s rated potential after system losses. Use a solar map, roof survey, and hourly shading check. Watch chimneys, trees, and neighbouring buildings. A simple noon-time inspection is not enough.
Mark the usable roof area, then confirm its structure with a qualified installer. Mounting rails must match the roof material and local wind requirements. Panels should face the strongest available sunlight, but orientation is only one factor. Tilt, seasonal shadows, and cable routing also matter. Measure twice. Estimate yearly production with location-based software, then compare it with household consumption. That estimate will still be imperfect. Recheck it after installation using actual meter readings, because the first forecast may look more confident than it deserves.
How to Install Solar Panels Step by Step? – Assess Solar Potential: PV Modules Typically Achieve 15–23% Efficiency
| Step | Assessment or Installation Task | Typical Data or Range | Why It Matters | Recommended Action |
|---|---|---|---|---|
| 1 | Review the Site | Record roof type, usable area, structural condition, and access points. | A suitable roof must support the mounting system and provide enough unobstructed space. | Inspect the roof age, covering material, drainage, and any visible damage before installation. |
| 2 | Assess Solar Exposure | A commonly useful annual average is about 4–6 peak sun hours per day, depending on location. | Solar irradiation determines how much electricity the array can produce. | Use a solar-path assessment or site survey to check seasonal shading from trees, chimneys, and nearby buildings. |
| 3 | Estimate PV Module Efficiency | Typical photovoltaic module efficiency: approximately 15–23%. | Higher efficiency produces more power from the same roof area. | Compare rated power, physical dimensions, temperature characteristics, and available roof space. |
| 4 | Measure Usable Roof Area | A standard residential module often occupies roughly 1.6–2.1 m². | Walkways, setbacks, vents, skylights, and roof edges reduce the installable area. | Create a scaled layout and leave safe clearances around roof obstacles and access routes. |
| 5 | Choose Array Orientation and Tilt | The best orientation generally faces the equator; tilt is often selected near the local latitude, then adjusted for design goals. | Orientation and tilt affect the amount and timing of solar energy received. | Prioritize the least-shaded roof surface and verify the design with local solar data. |
| 6 | Calculate System Size | Estimated annual energy ≈ system capacity × local peak sun hours × 365 × performance ratio. | The calculation connects household electricity demand with available solar resources. | Use a performance ratio of about 0.70–0.90 for preliminary estimates to account for system losses. |
| 7 | Check Electrical Requirements | Review array voltage, current, inverter input limits, grounding, overcurrent protection, and cable sizing. | Correct electrical design reduces safety risks and prevents equipment incompatibility. | Follow applicable electrical codes and have the design reviewed by a qualified professional. |
| 8 | Install Mounting Hardware | Mounting points must align with suitable structural members and be sealed against water intrusion. | The mounting system transfers wind and snow loads to the building structure. | Use approved attachment methods for the roof type and verify waterproofing at every penetration. |
| 9 | Place and Wire the Modules | Connect modules in series or parallel only within the inverter’s voltage and current operating ranges. | The wiring configuration controls operating voltage, current, and energy losses. | Use weather-resistant connectors, secure cable management, and maintain correct polarity. |
| 10 | Connect the Inverter and Protection Devices | The inverter converts direct current into grid-compatible alternating current. | Protection equipment helps isolate faults and supports safe maintenance. | Install disconnects, grounding, surge protection, and distribution connections according to local requirements. |
| 11 | Inspect and Commission the System | Verify polarity, insulation, torque, grounding continuity, open-circuit voltage, and operating status. | Commissioning confirms that the system is safe and performing as designed. | Complete required inspections, obtain utility approval where applicable, and document test results. |
| 12 | Monitor and Maintain | Track energy production and investigate persistent drops in output or repeated fault messages. | Monitoring helps identify shading, soiling, wiring, or equipment problems. | Keep modules free of significant dirt or debris, inspect visible components, and follow the system maintenance schedule. |
Note: Solar output varies with location, weather, shading, orientation, tilt, temperature, system design, and maintenance. Electrical and structural work should comply with local regulations and be completed or verified by qualified professionals.
Related Posts
-
What is the Process of Getting Solar Panels for Your Home?
-
Top 5 Benefits of Getting Solar Panels for Your Home?
-
How to Get Solar Panels for Your Home or Business?
-
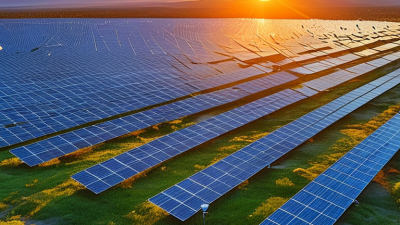
Discover Top Solar Panels Deals for 2026 How to Save Money?
-
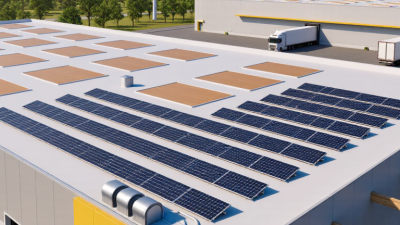
How to Choose Commercial Solar Panels in 2026?
-
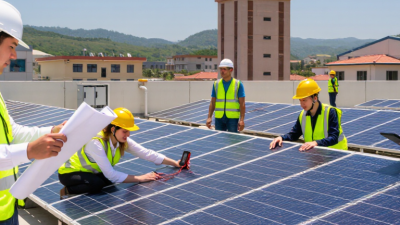
How to Find a Top China Solar Installation Supplier?